Basic Relief Techniques
Learn the fundamentals of carving in low relief
by Chris Pye
This article was first published in issue 43 of Woodcarving Illustrated.
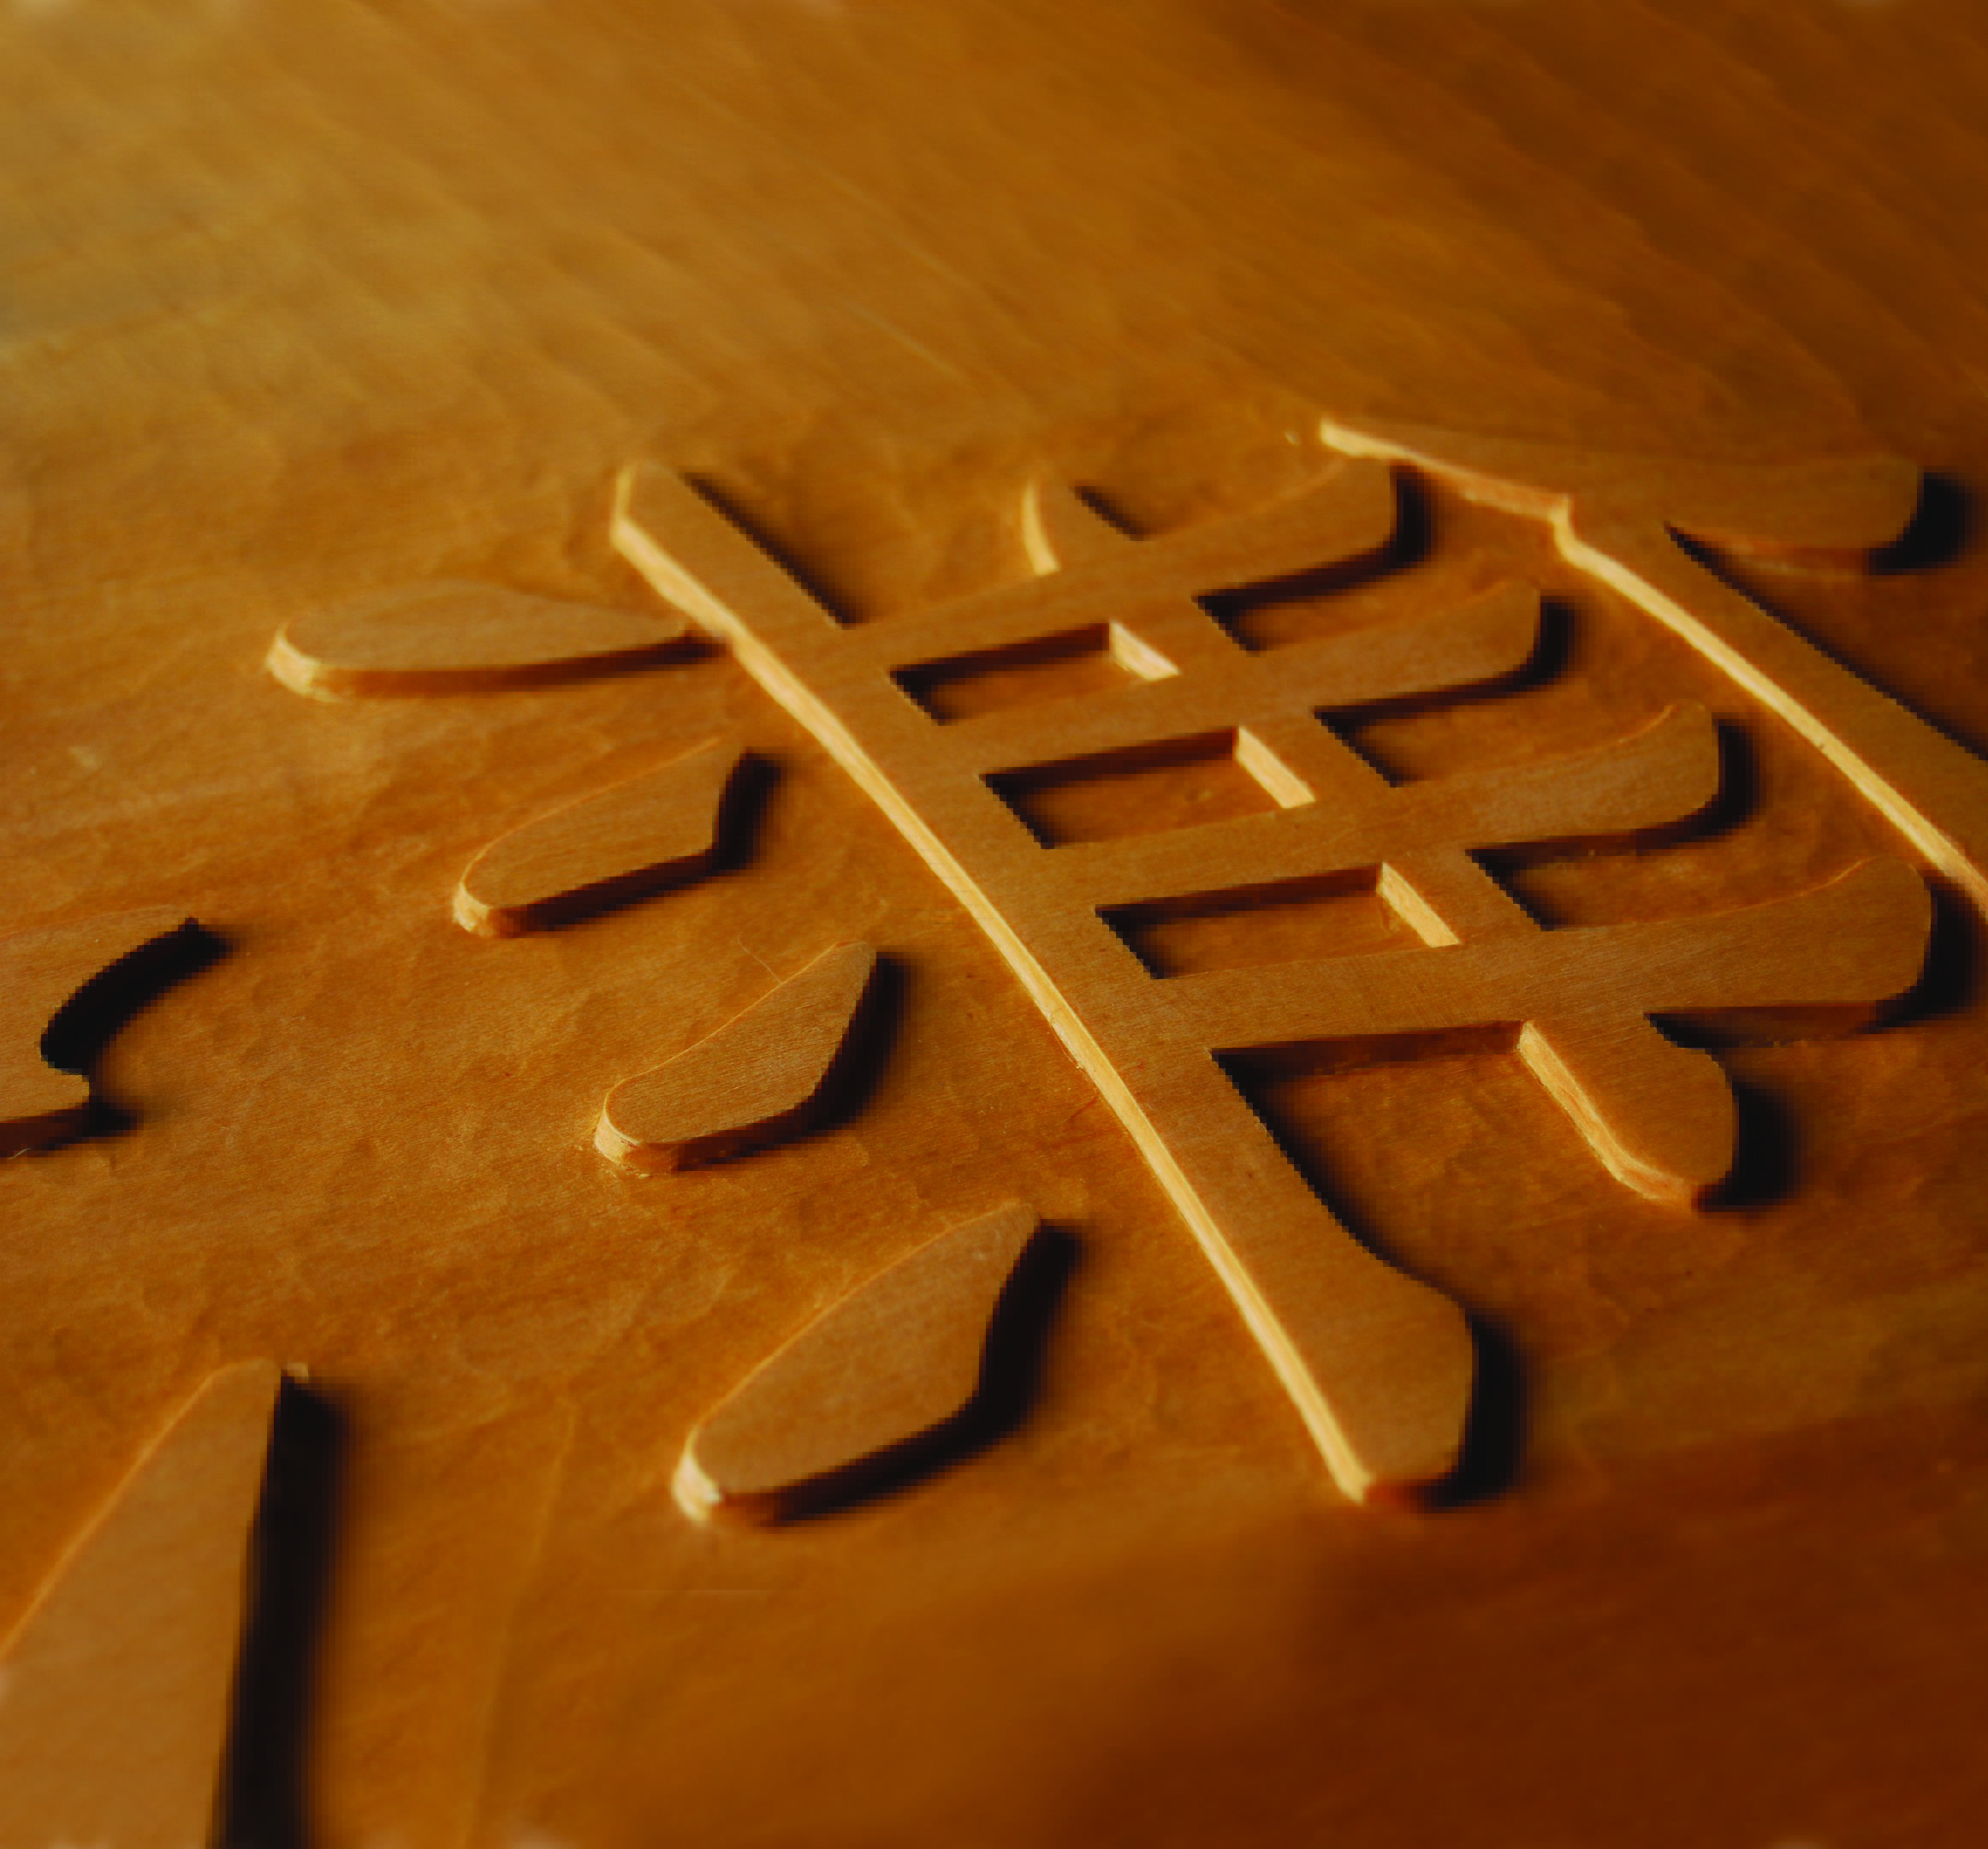
This design gives you the opportunity to practice low-relief carving. The technique is the same whether you are carving kanji characters, traditional letters, or pictorial designs. These kanji characters look interesting, and the shapes teach you how to set-in and ground a low-relief carving.
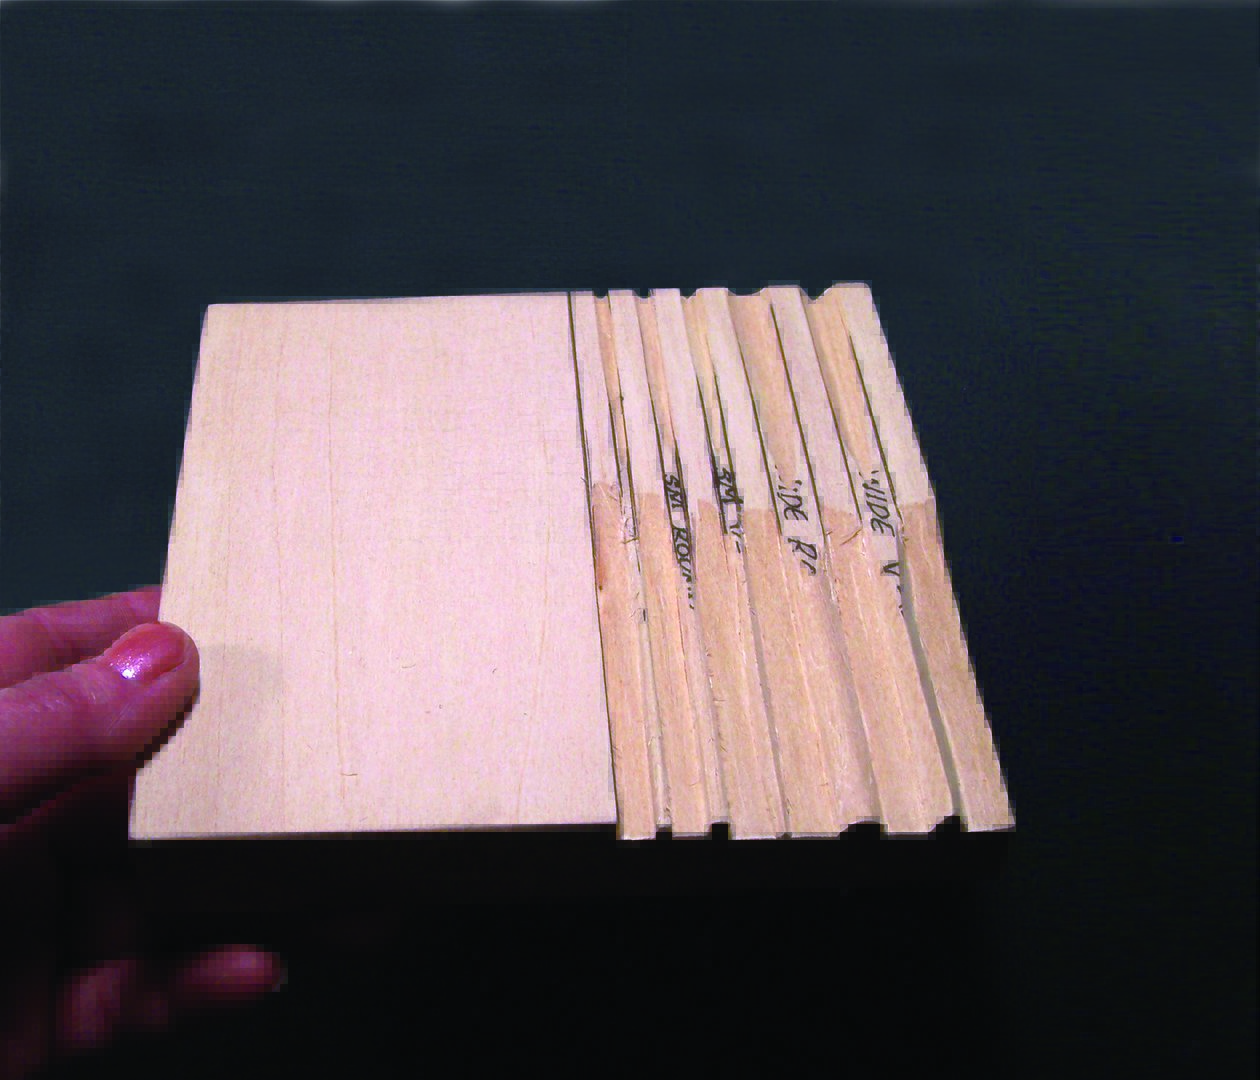
In “low relief” the depth is shallow and the carving feels quite light. The depth between the top of the letters and the background is 1/8″ to 3⁄16“. In traditional carving, the background is often simply called the “ground,” and establishing it is called “grounding” or “grounding out.”
Grounds can be “open” (approached easily from the side) or “closed” (areas surrounded by wood that are trickier to get at). Carvers need to be able to deal competently with both instances.

Design
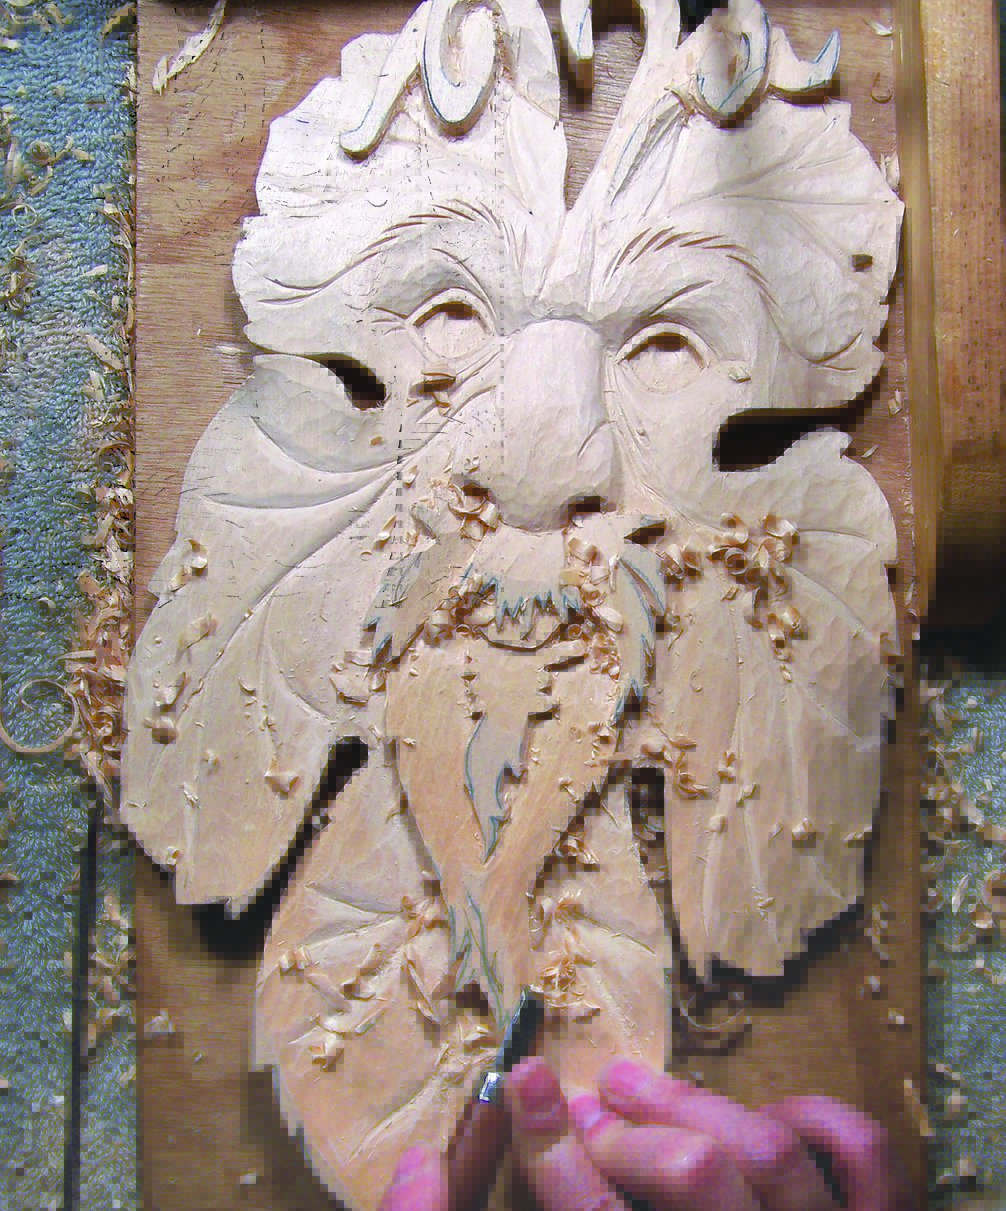
I want to emphasise that the technique demonstrated is entirely independent of the subject. I chose this design to provide practice in important and fundamental carving techniques, but the design could be anything that works in relief as a silhouette—any letter, of any style (from Hebrew to Arabic); single (monograms) or grouped (a house sign, blocks of text); and even flowers, fish, or geometric patterns. Feel free to work with an alternate design; the method of carving will be the same.

This design is an example of “kanji:” a form of Japanese writing or script. I chose two kanji characters that make one word: “Mu-Shin,” and because Japanese is read from top to bottom, I’ve put them one above the other.
“Mu-shin” is a wonderful concept that arises out of Zen, for which there is no exact equivalent in English. It can be translated as “empty-mind” or “no-mind,” meaning a mind that is empty, but has infinite capacity and potential. The concept is readily found in the “mind like water” business concept. To give the kanji a context—and to provide more valuable carving practice—I added a pattern of water flowing around a stone.
You need a neat accurate outline of your subject, whatever you choose. Make your lines—what will be the outline of the subject—clean, simple, and flowing. They should be quite large, and without a lot of fussy details.
I enlarged the kanji on my computer and printed the design on vellum, or transparent paper. The transparent paper allows me to orient the designs with the grain.
Keep the strength of the wood fibers (the grain) in mind. Short fibers are weak and prone to breaking off, so check your design, and adjust it for strength.
A tight-grained wood such as oak, lime, basswood, or mahogany is ideal, but any unfigured, carveable wood will work. Because the design reads vertically, I have the grain orientated this way too. Western lettering looks better with the grain horizontal. Since the carving is quite shallow, you need only use a board 3/4″ to 1″-thick.
Basic Relief: Removing the Background


Basic Relief: “Setting In” the Subject


Basic Relief: Carving the Water


Finishing Notes
I finish the wood with a matte acrylic varnish, the sort used to finish oil paintings, which gives the surface a light sheen. A simple beeswax polish would also look good.
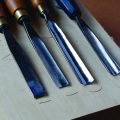
Special Tools
Final Word on the Design
It’s always good to critique your work. Despite this being an excellent practice piece for setting in, I’m not sure whether the pebble lying on a vertical surface really works, as it defies both logic and gravity. It also seems a little too dominant in the design. A smaller, flatter pebble would feel lighter, and would be less dominant and more balanced.
Painting the surfaces of the kanji would strengthen these elements, and setting the whole piece in a deep, box-like frame would take away some of the pebble’s isolated dominance.
Materials & Tools
Materials:
- 1″ x 91/2″ x 171/2″ basswood or wood of choice
- Temporary-bond spray adhesive
- Vellum or tracing paper
- Pebble of choice
- 2-part epoxy glue
- Mineral spirits (optional)
- Matte acrylic varnish or beeswax polish
Tools:
- Ruler or marking gauge
- 3/8″ 60° V-tool
- 3/8″ skew chisel
- #3 gouges: a variety from 1/4″ to 3/4″
- #6 or #7 gouges: a variety from 1/4″ to 3/4″
- #8 or #9 gouges: a variety from 1/4″ to 1/2″
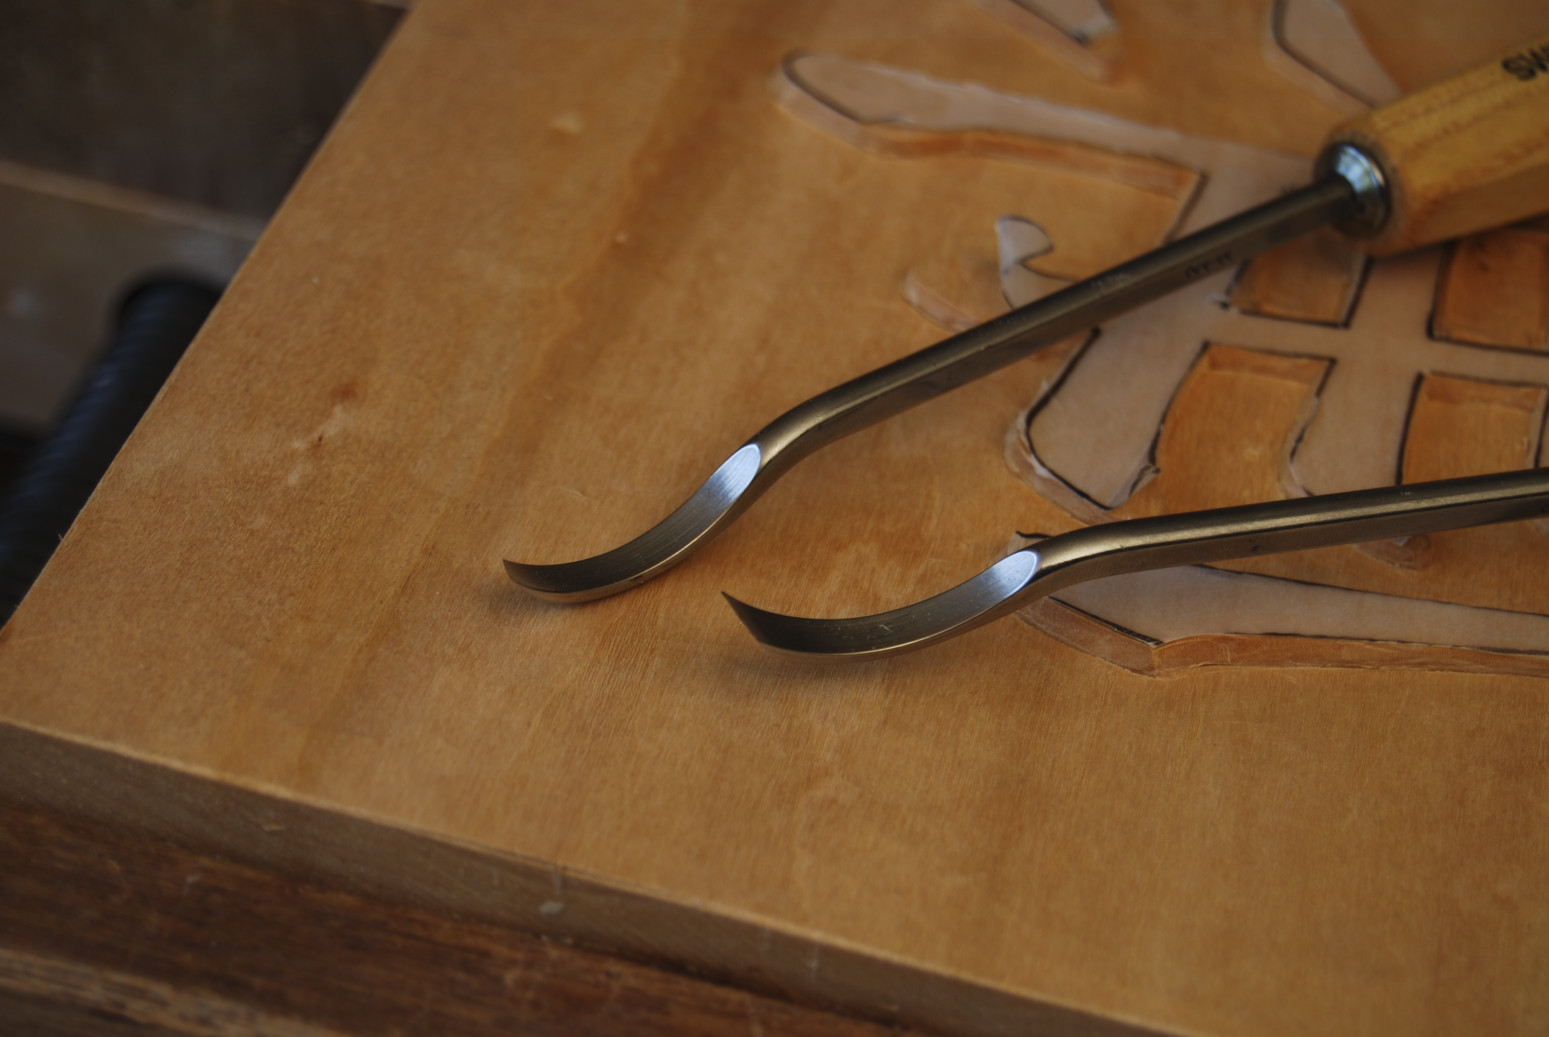
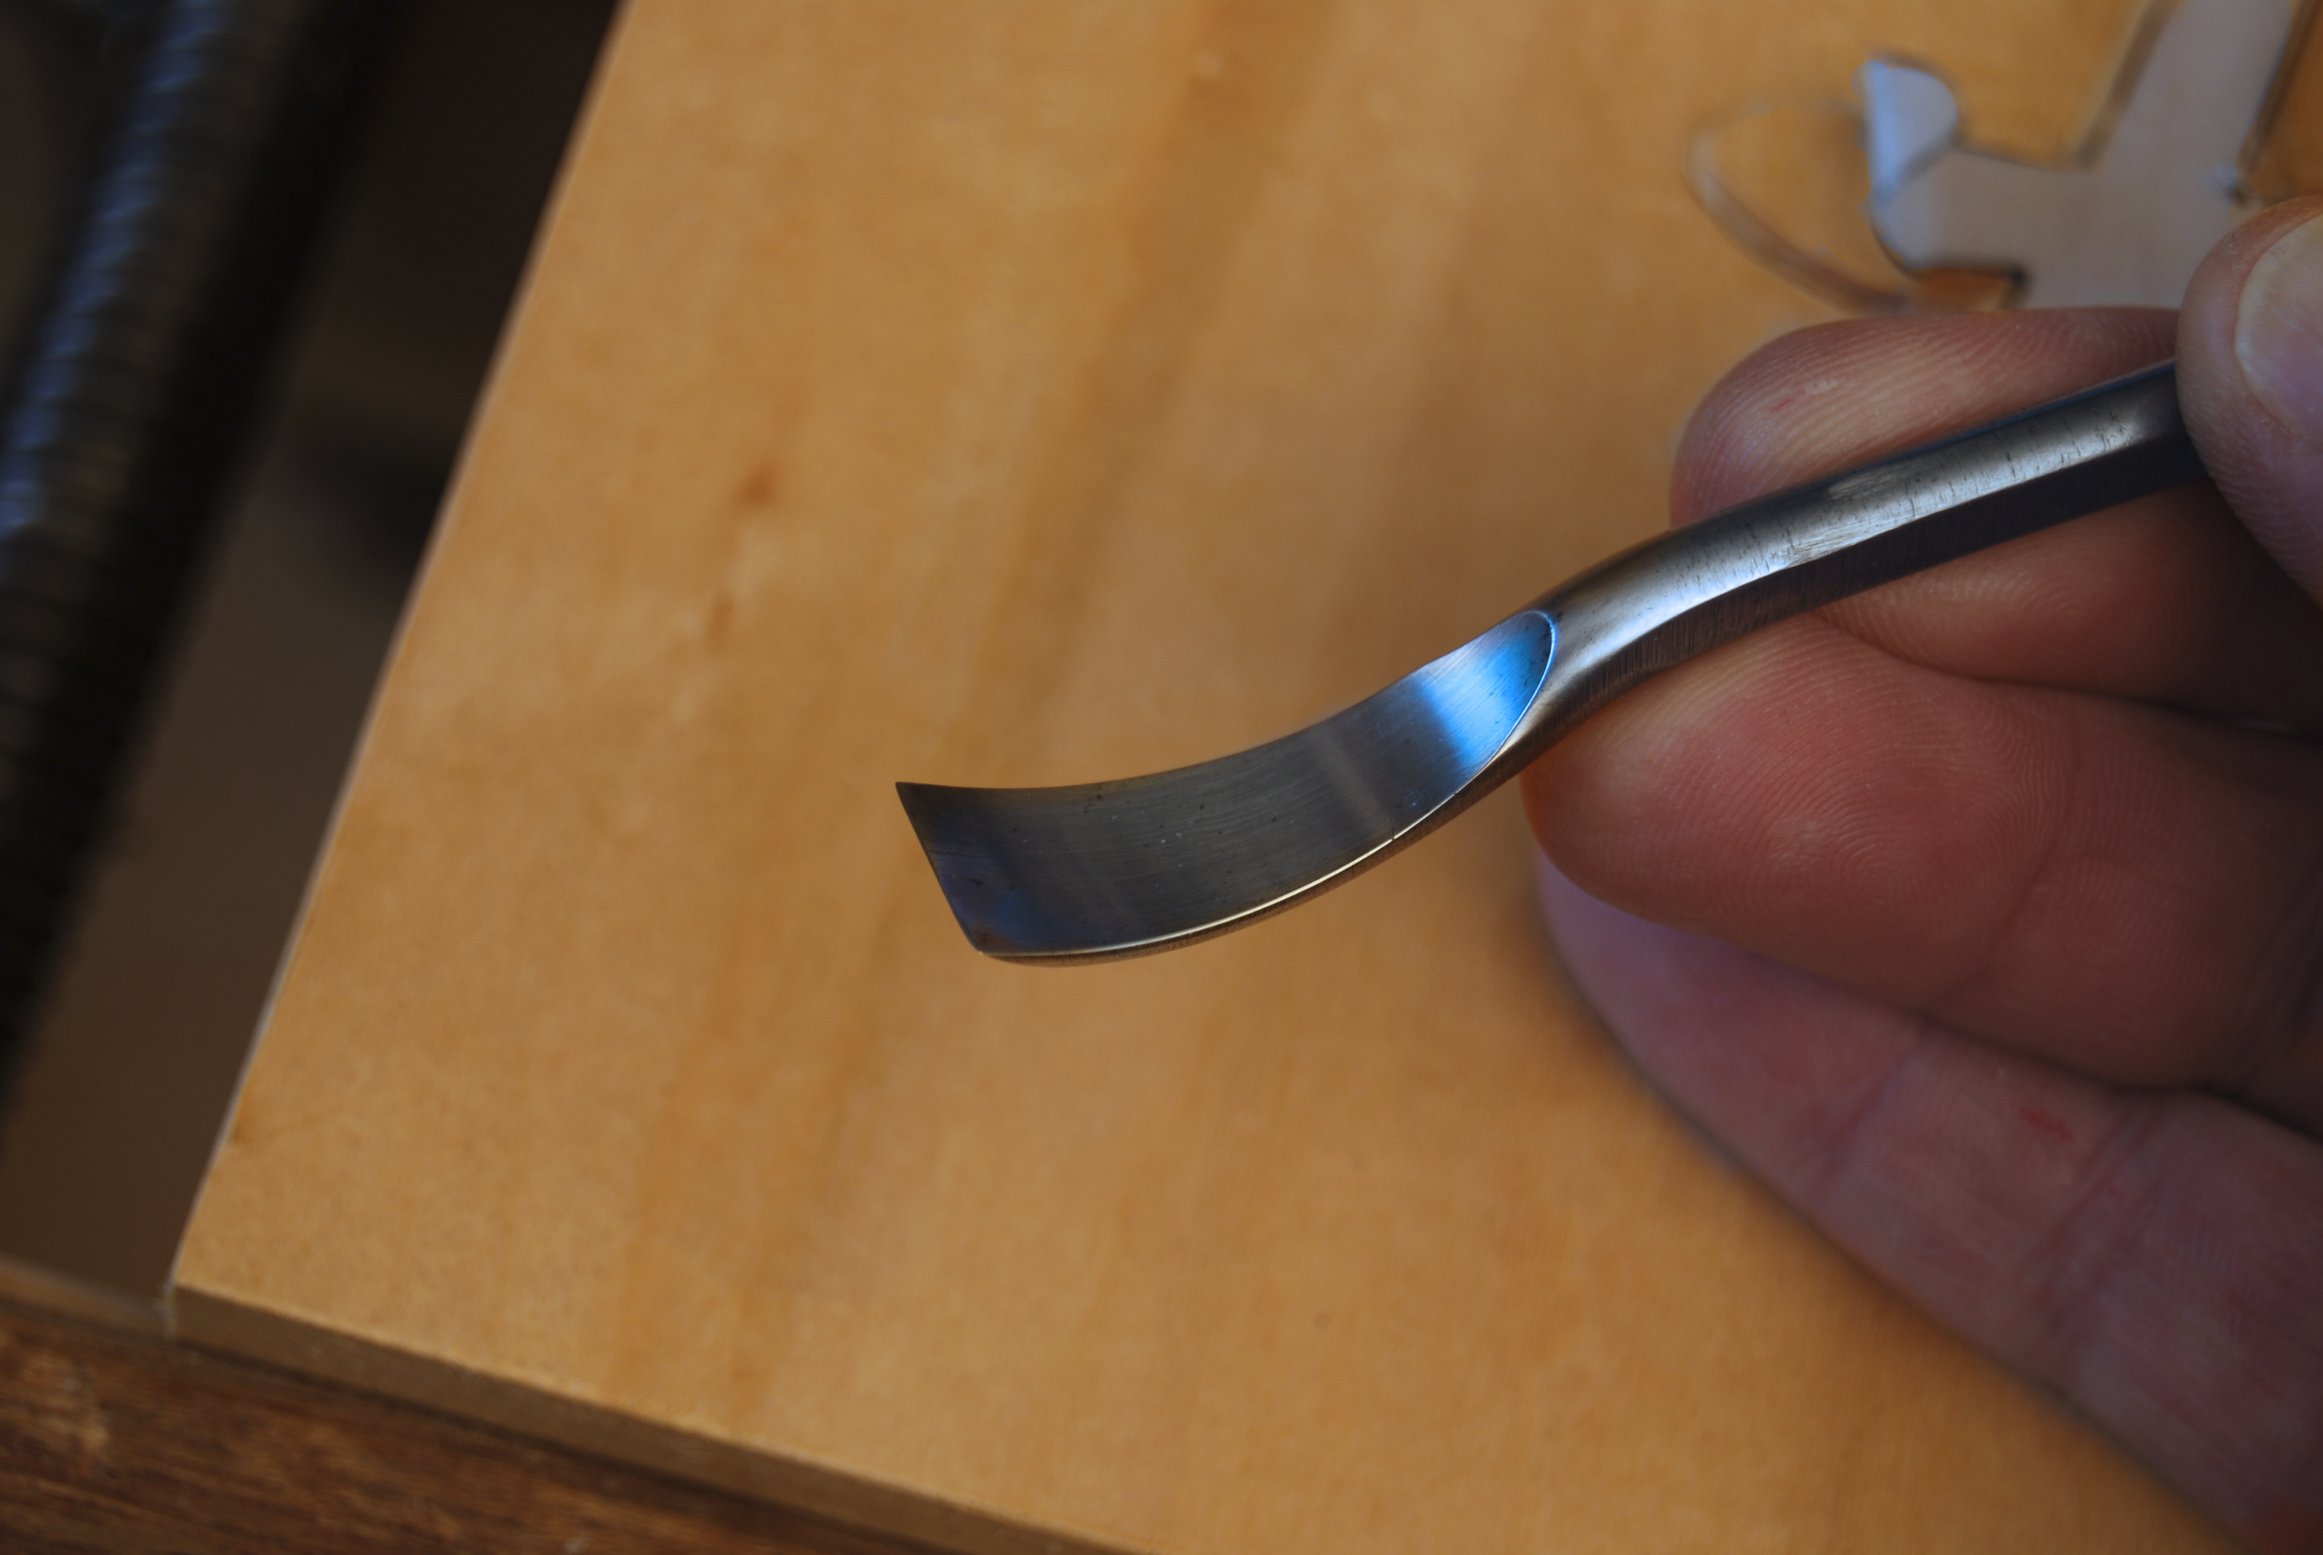
- Assorted short-bent gouges and skews (essentially, whatever you have)
Patterns:
About the Author
Chris Pye is a master woodcarver, instructor and author of several books, including Woodcarving Projects and Techniques, produced by Fox Chapel Publishing. Chris runs the video-based teaching website, WoodcarvingWorkshops.tv, with instruction on tools, sharpening, lettering, relief carving, in-the-round projects and much more; and from where he writes a free monthly blog about woodcarving. You can see a gallery of his commissioned work at www.chrispye-woodcarving.com.
Discuss this material on the Woodcarving Illustrated forums.
Read more about techniques for beginners!
Related posts:

Get the Latest Issue
For more articles like this, subscribe to Woodcarving Illustrated magazine.
Plus! Get digital mini magazines in your e-mail between printed issues.